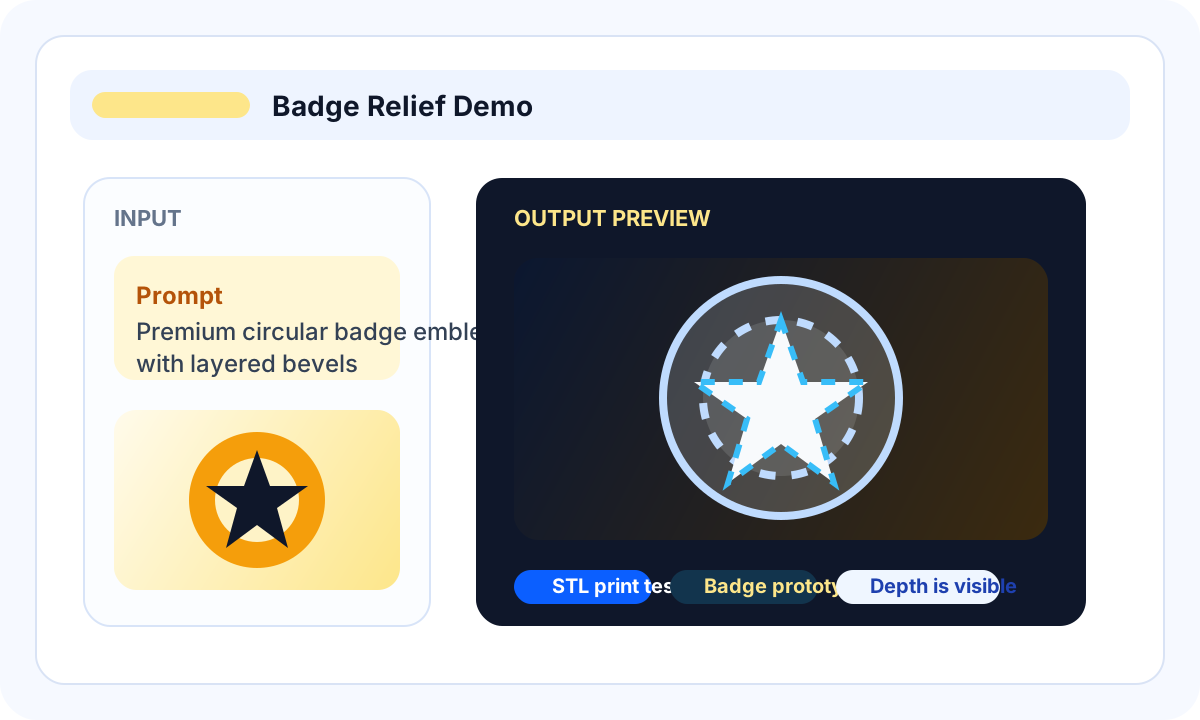
Logo relief test
Use a logo or badge sample to see whether thin strokes and raised details survive STL export.
Evaluation guide for image-to-STL tools
Use this guide when you are comparing Image3D, printable STL libraries, general AI 3D platforms, slicer workflows, and CAD/vector extrusion options before spending credits or print time.
Direct answer
The best image to STL generator depends on whether you need an existing printable file, a custom object, or exact engineering geometry. Search STL libraries first when a tested model likely exists. Use Image3D when the object is custom, branded, personal, or based on your own photo, logo, sketch, or prompt. Use CAD or vector extrusion when dimensions, tolerances, and repeatable manufacturing matter.
Workflow
Compare tools with the same image: one logo, one product photo, one character, and one simple object. A tool that looks good on one sample can fail on another because image-to-STL quality depends heavily on subject type.
Start with a Standard preview. If the shape is close but needs more detail, consider Pro or Ultra. Inspect the result before exporting, then check it in Blender or your slicer.
Your final output should be an STL candidate that you can inspect in a slicer. If the goal is exact manufacturing geometry, the best answer may be CAD or manual modeling rather than AI generation.
Beginner answer
The best beginner image-to-STL converter is the one that lets you preview the 3D result before export, explains that AI STL files are candidates rather than guaranteed print-ready files, and gives you a clear slicer checklist. For most beginners, start with Image3D Standard preview, export STL only when the shape is worth keeping, then check wall thickness, scale, islands, and layer preview in a slicer.
Decision map
Many people search for the best image to STL generator when they actually need one of three things: a ready-made printable file, a custom AI-generated draft, or exact geometry. These are different workflows. Mixing them wastes time and makes AI tools look worse than they are.
Choose this path when the object is common: cable holders, tabletop terrain, replacement knobs, printer upgrades, organizers, toys, or tested miniatures.
Choose Image3D when the object is personal, branded, original, or based on your own image. Good candidates include logo badges, custom creature busts, product mockups, props, tabletop markers, and social 3D assets.
Choose CAD, vector extrusion, or manual modeling when you need exact dimensions, threads, snap-fit tolerances, mechanical parts, watertight repair, or repeated manufacturing output.
Best fit
Compare tools with the same image: one logo, one product photo, one character, and one simple object. A tool that looks good on one sample can fail on another because image-to-STL quality depends heavily on subject type.
No image-to-STL comparison should promise universal print-ready output. AI STL output is not guaranteed print-ready. Look for tools that make limits visible, offer preview before payment, and give a clear route from weak AI mesh to repair or cleanup.
| Stage | What to do | Why it matters |
|---|---|---|
| Image3D | Browser-first image-to-3D, STL/GLB/OBJ export, and printability help path. | Good when you want fast preview, paid export, and a clear route to cleanup. |
| STL model libraries | Search MakerWorld, Printables, Thingiverse, Cults3D, MyMiniFactory, or GrabCAD when a tested printable model probably already exists. | Best for common parts and proven print settings; not ideal for custom branded or personal objects. |
| Broad AI 3D platforms | Compare Image3D, Meshy, Tripo, Rodin, and similar tools with the same input image. | Good for creative assets, but check pricing, export rights, file formats, and printability claims. |
| File converters | Can convert existing files but may not reconstruct 3D from a flat image. | Good only when you already have usable geometry. |
| CAD/vector tools | Best for exact logo extrusion, mechanical parts, and dimensions. | Better than AI when precision matters more than speed. |
Examples
Use these sample categories to judge whether your own input image is a good candidate. The practical test is preview quality plus downstream inspection, not the page headline.
Use a logo or badge sample to see whether thin strokes and raised details survive STL export.
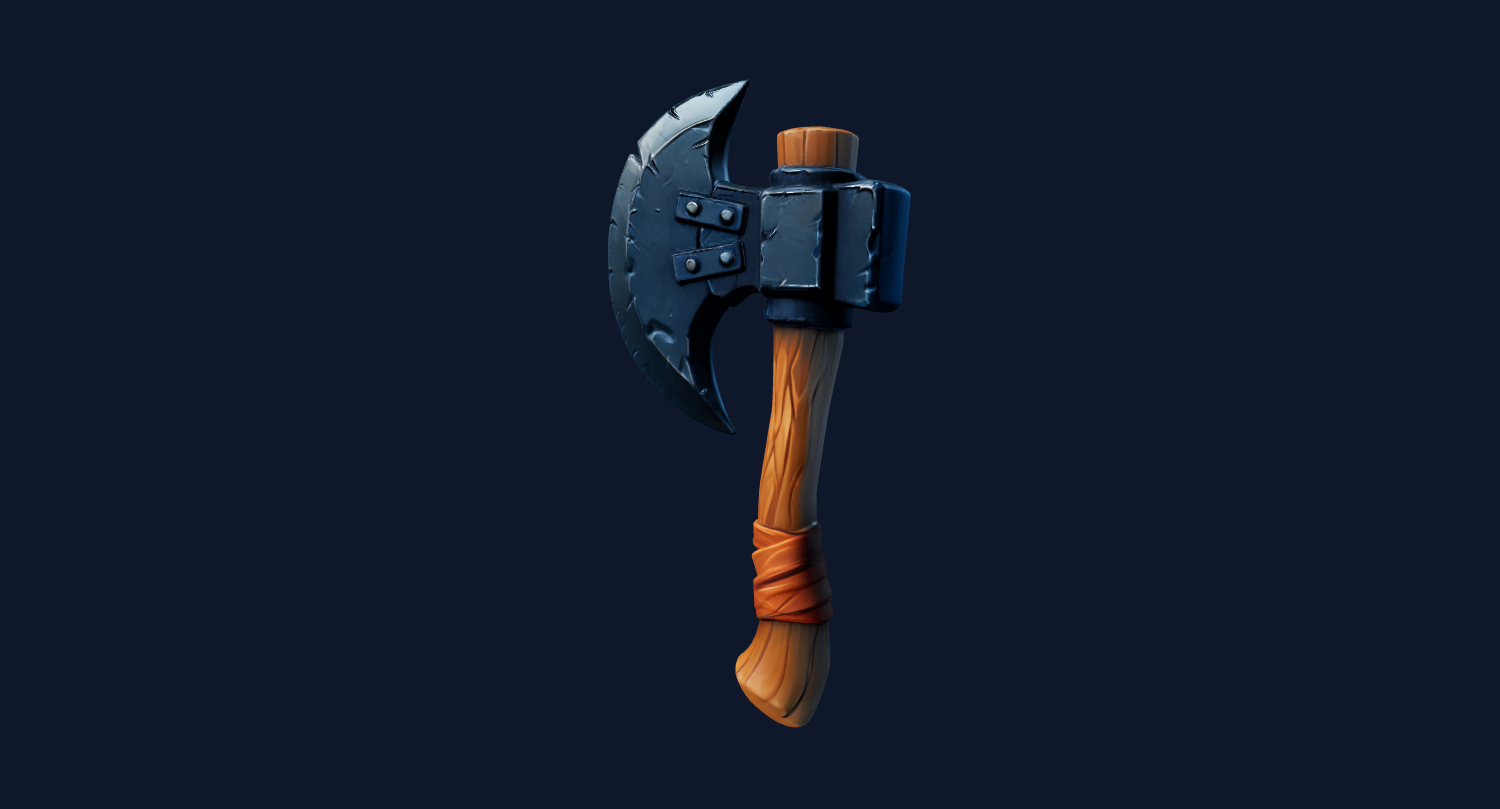
Use one clean object photo to compare silhouette quality, mesh density, and export friction.
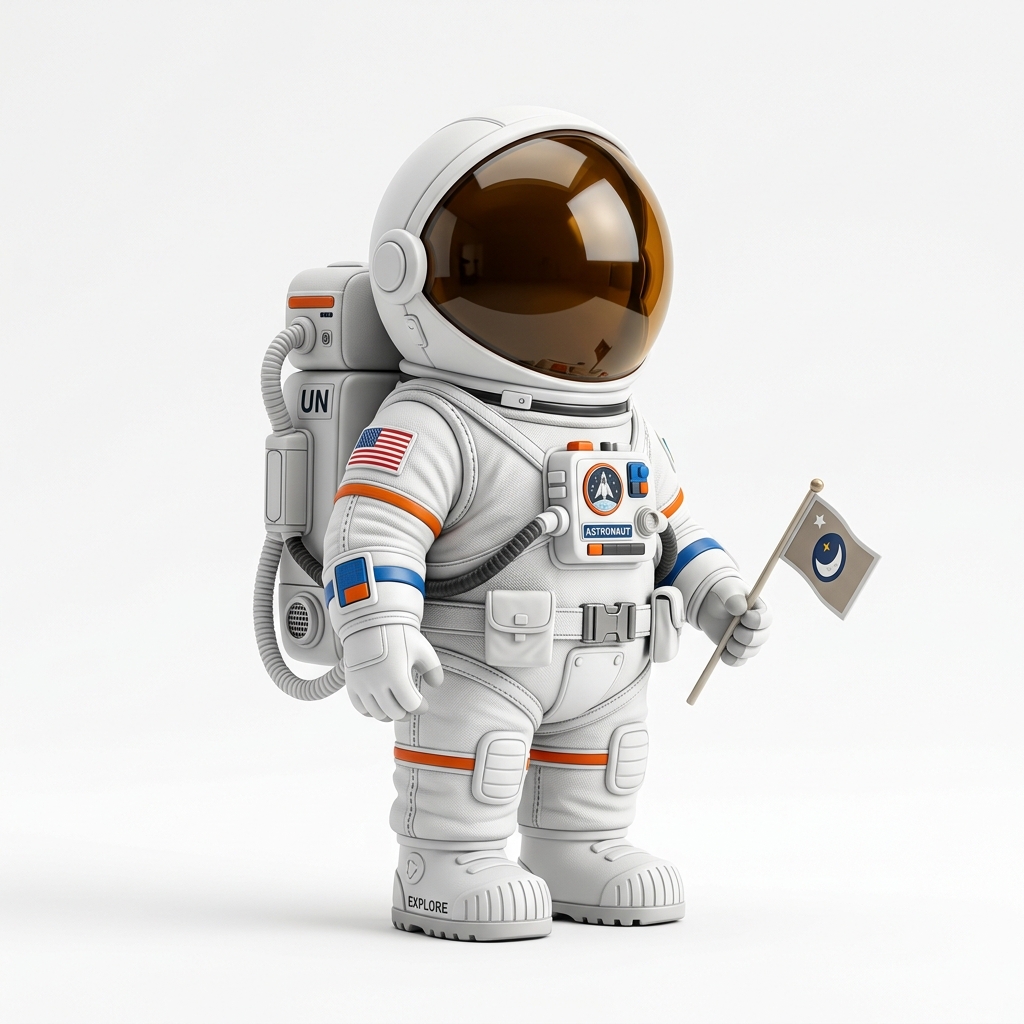
Use a character or figurine sample to expose the hardest cases: faces, hands, hair, and accessories.
Your final output should be an STL candidate that you can inspect in a slicer. If the goal is exact manufacturing geometry, the best answer may be CAD or manual modeling rather than AI generation.
No image-to-STL comparison should promise universal print-ready output. Look for tools that make limits visible, offer preview before payment, and give a clear route from weak AI mesh to repair or cleanup.
The safest pattern is to test cheaply, inspect honestly, then pay for export or higher quality only when the result is close enough for your use case.
FAQ
The best tool depends on your use case. For fast AI drafts, use a tool with preview and STL export. For exact logos or mechanical parts, CAD or vector extrusion may be better.
Sometimes they create usable candidates, but print-ready is not guaranteed. Always inspect wall thickness, scale, floating geometry, and layer preview in a slicer.
Compare input handling, preview quality, STL export, pricing moment, mesh density, printability warnings, support for higher quality, and cleanup options.
No. Many file converters change one existing 3D format into another. AI generators attempt to reconstruct a 3D mesh from a 2D image.
Characters include faces, hair, hands, clothing folds, and accessories. A single image does not fully describe hidden 3D structure, so artifacts are common.
Use the same inputs across tools: a logo, a product photo, a simple object, and a character. Compare preview, export, slicer behavior, and whether cleanup is available.
Generate Standard first. Export or upgrade only when the preview shows a shape worth keeping.