 Input
InputCastle Terrain Piece
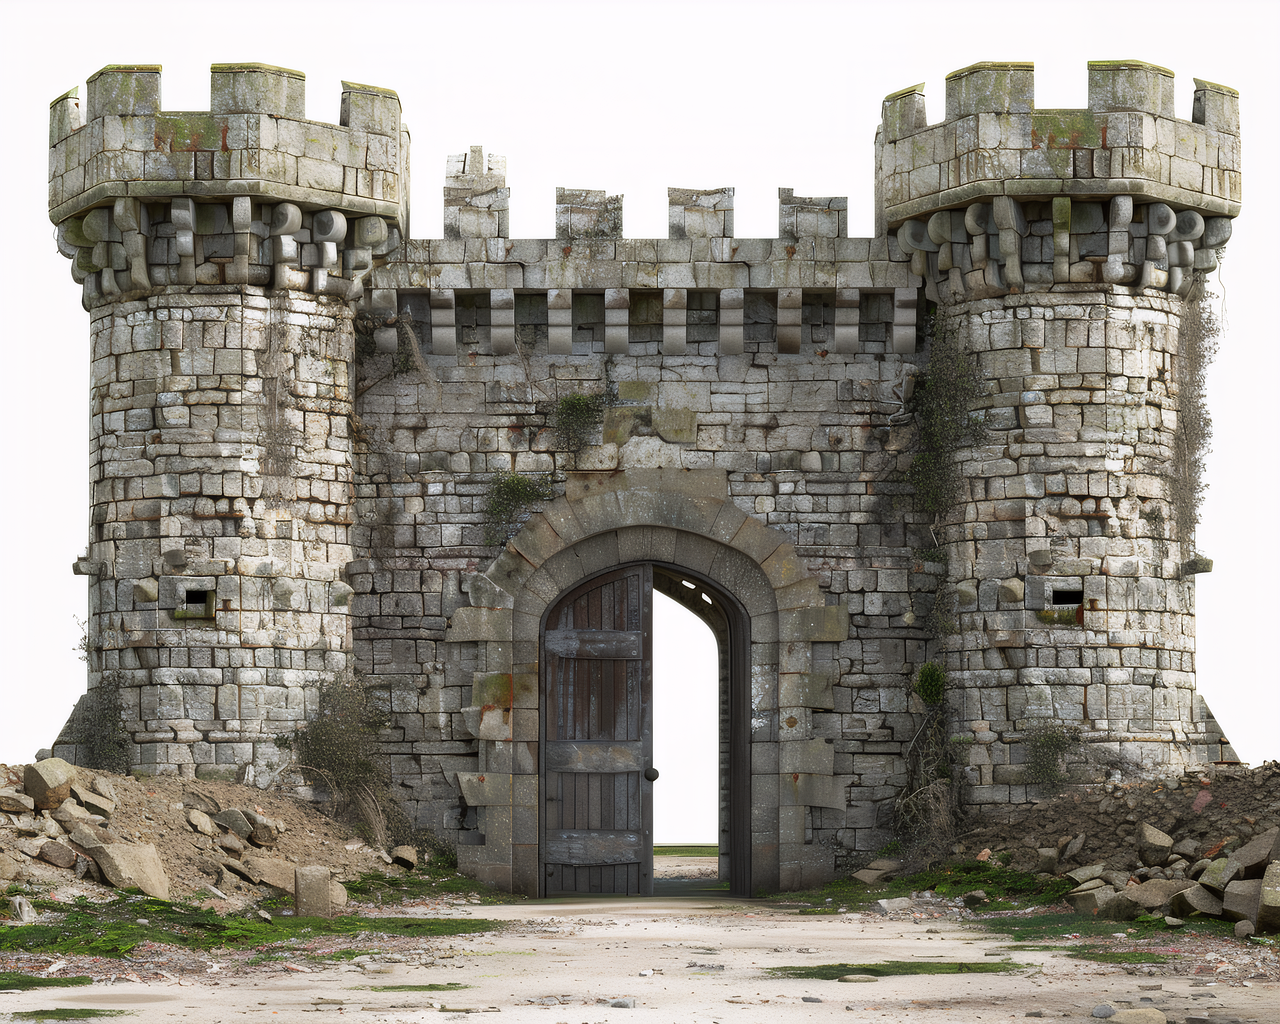
STL checkGood for terrain, tabletop scenery, and display models. Watch for small towers, thin bridge details, and unsupported overhangs in the slicer.
Upload a clear image, generate a 3D model, export STL, and inspect the result in Cura, PrusaSlicer, or Bambu Studio before printing.
 Input image
Direct answer
Yes. You can use Image3D to turn a clear PNG or JPG into a 3D mesh, then export the result as an STL file for slicer inspection. The important caveat is that AI-generated STL files should be checked before printing. A browser preview can look good while a slicer still finds thin walls, floating islands, holes, scale issues, or unsupported details.
Example outputs
These examples show different input types and the generated mesh preview before STL export. The STL should still be inspected in a slicer before printing.
InputGood for terrain, tabletop scenery, and display models. Watch for small towers, thin bridge details, and unsupported overhangs in the slicer.
 Input
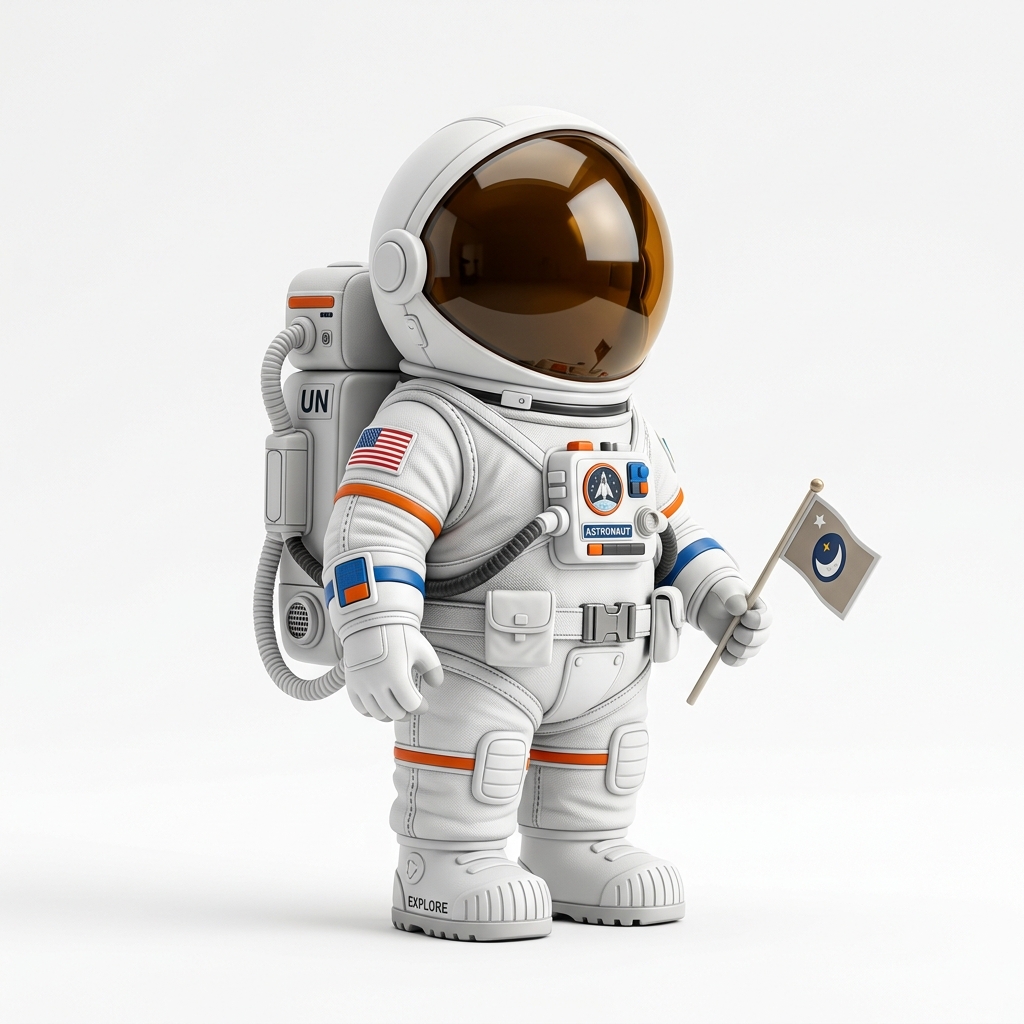
InputUseful for cosplay and prop drafts. Export OBJ for cleanup first if decorative ridges become too thin for the target print size.
 Input
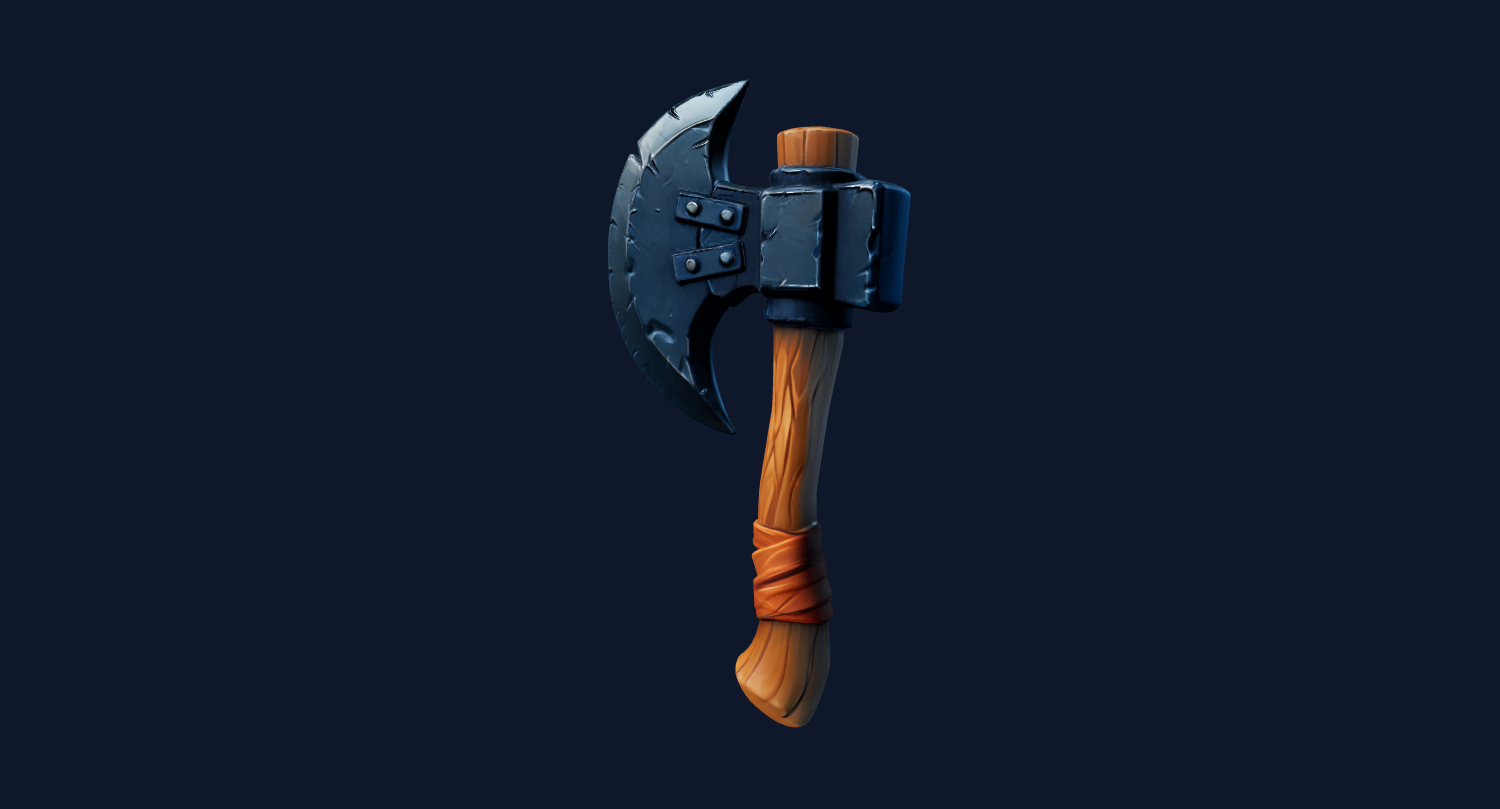
InputWorks well for stylized props, but handles, spikes, and blade tips need scale checks because very thin parts can disappear in slicing.
 Input
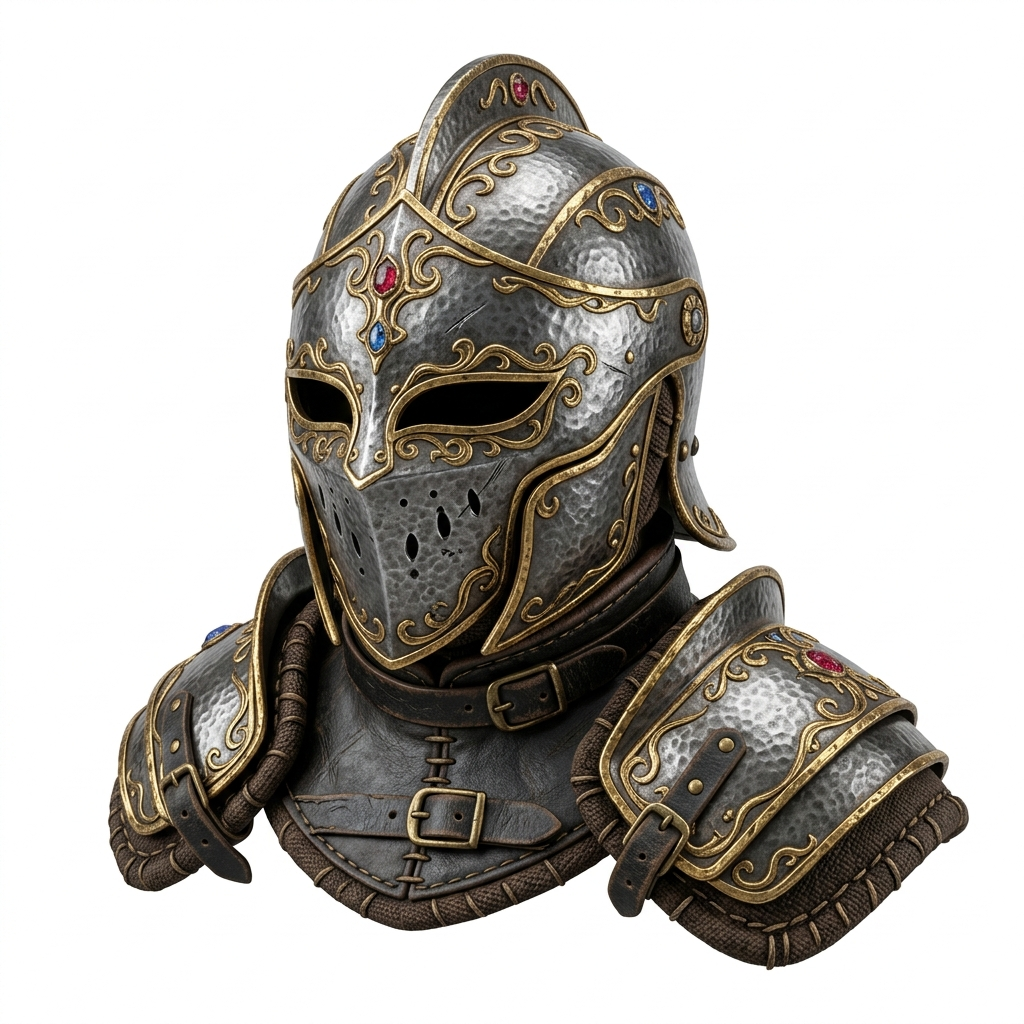
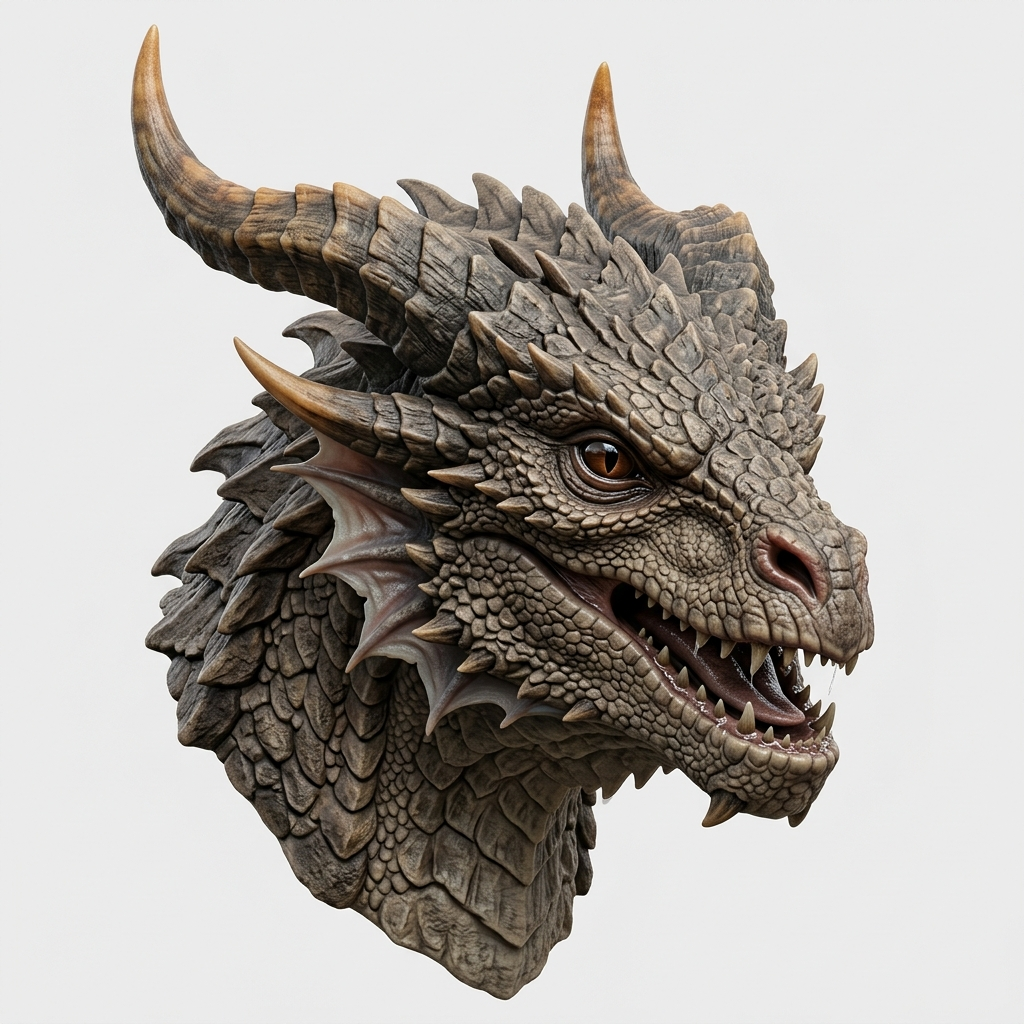
InputA stronger fit for fantasy busts and display prints. Check horns, teeth, scale texture, and overhangs before slicing.
Turn a product photo, toy image, or concept art into an STL candidate for slicer testing.
Create a rough physical model from a sketch or render before spending time in CAD.
Generate a textured GLB or OBJ first, then export STL only when a print test makes sense.
Validate gift, miniature, prop, or decor ideas before commissioning final cleanup.
3D printing from an image means using AI to reconstruct a 3D mesh from a 2D source image, then exporting that mesh into a format that a slicer can read. The most common print format is STL because slicers only need surface geometry to generate toolpaths.
This workflow is different from a guaranteed CAD workflow. Image3D estimates shape from the visible pixels and infers the back and sides of the object. That makes it fast and useful for creative ideation, props, miniatures, reference models, and early prototypes. It also means the final mesh should be reviewed before committing to a long print.
If you need exact mechanical tolerances, STEP output, or engineering-grade constraints, you should treat the AI model as a visual draft and use CAD or manual cleanup afterward. If the model is visually close but not printable, the Printable Model Fix service can help review one generated model for common STL cleanup needs.
A single object, clear silhouette, and simple background usually produce cleaner geometry than crowded scenes.
Thin text, hair-like details, small floating parts, and concave gaps are common slicer risk signals.
A model that looks fine at 100 mm may fail at 30 mm if thin details become smaller than the nozzle can print.
Always check mesh repair warnings, non-manifold regions, disconnected islands, and previewed toolpaths.
| Format | Use it for | Print note |
|---|---|---|
| STL | Cura, PrusaSlicer, Bambu Studio, OrcaSlicer | Best print format, but inspect before printing. |
| GLB | Preview, web 3D, AR, textured sharing | Useful before STL because it preserves visual materials. |
| OBJ | Blender, Maya, Unity, Unreal, mesh editing | Use it when you want cleanup or edits before STL. |
| PLY | Research, point/mesh workflows | Less common for consumer slicers. |
Best for quick shape checks with the 20-credit start. Use it to decide whether the image is worth a higher-detail run.
10 credits, lowest cost.
Better for serious print tests, Blender cleanup, and textured review before exporting STL.
100 credits, balanced quality.
Best for close-up detail, display pieces, and models where surface quality matters more than speed.
350 credits, highest detail.
Upload a clean product-style photo, generate in Standard to inspect the silhouette, then rerun in Pro or Ultra if the shape looks stable. Export STL and check the model in Bambu Studio before choosing supports.
Upload a character image from an AI image generator. If thin hair, small accessories, or layered clothing create disconnected parts, use OBJ for cleanup first or simplify the source image.
Use a product render to create a quick mesh, then export STL for a rough print or OBJ for editing in Blender. This is useful for visual prototypes, not tolerance-critical manufacturing.
Use the image-to-STL path when the image already shows a physical object, prop, creature, logo relief, terrain piece, or figurine idea that can tolerate artistic reconstruction. It is not the right first step for exact brackets, gears, screws, snap-fit parts, or dimension-critical mechanical pieces.
A good rule is to ask what failure would cost. If a failed print costs a few grams of filament and teaches you which shape to retry, AI generation is useful. If a failed print would break a product assembly or require exact tolerances, treat Image3D as concept generation and rebuild the final part in CAD.