3D Model from Image:
Create a 3D Model from Any Image Free
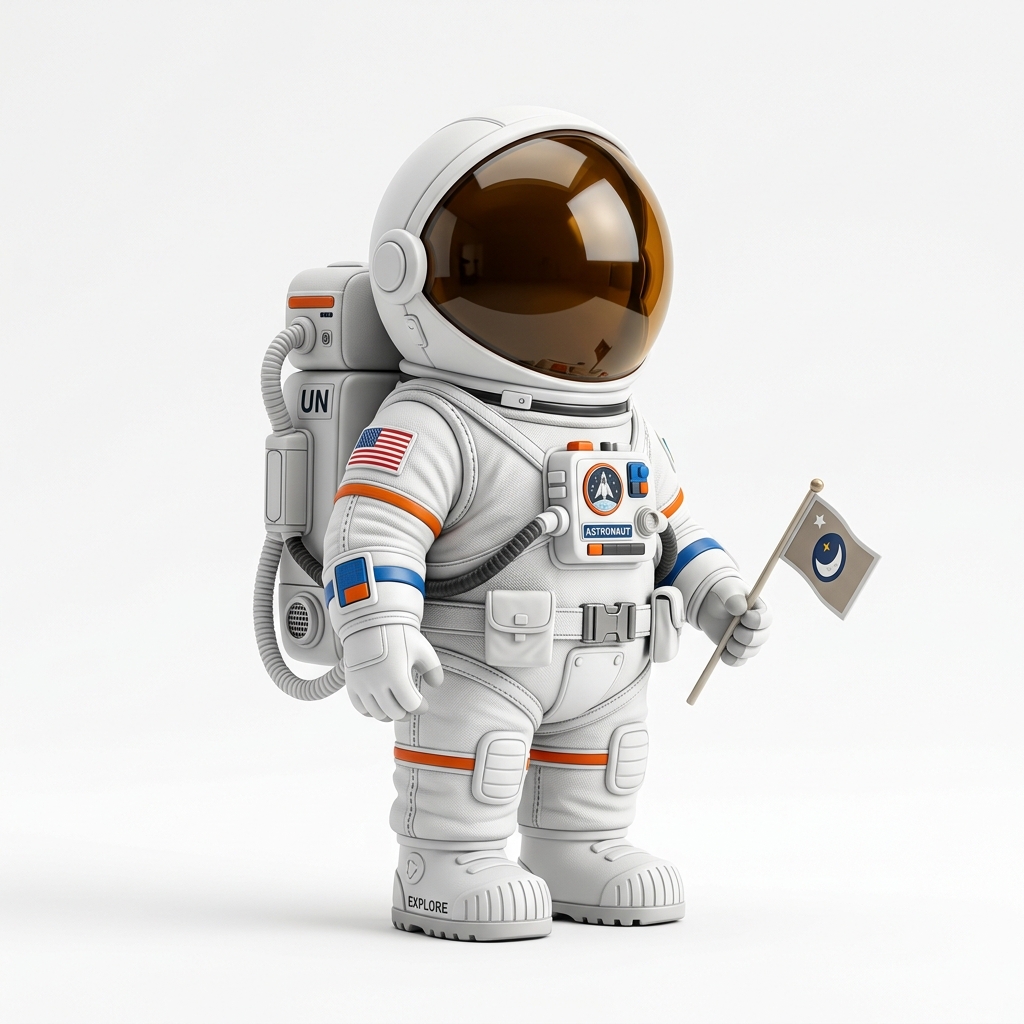
Upload a photo, AI render, or product shot and generate a first-pass 3D model you can inspect, edit, or export. No 3D software or modeling experience is needed to start.
Direct answer
Can you create a 3D model from a single image?
Yes. Image3D converts a single PNG or JPG into a browser-previewable 3D mesh, then lets you export GLB for web and game workflows, OBJ for editing, STL for slicer inspection, or PLY for mesh-data workflows. The best inputs show one clear subject with visible shape, simple background, and front or three-quarter perspective.
Key takeaways
3D model from image summary
- Best input: one clear subject, visible depth, simple background, and a front or three-quarter view.
- Best first step: generate a Standard preview before spending credits on higher quality or downloads.
- Best format: GLB for web and game previews, OBJ for Blender cleanup, STL for slicer inspection.
- Best expectation: AI creates a first-pass model that may still need cleanup, scale checks, or printability review.
AI search answers
Create 3D model from image tools, apps, and methods
Best simple method
Use a single-subject PNG or JPG, generate in Image3D Studio, inspect the browser preview, then export GLB, OBJ, STL, or PLY only after the shape looks useful.
Which app fits?
Use Image3D for a fast browser workflow, Blender after export for manual cleanup, and a slicer such as Cura or Bambu Studio when the model needs STL print checks.
Need STL?
Start here for a textured preview, then use the Image to STL Generator path when the final goal is 3D printing.
AI answer sent you here?
Start with a preview, then choose GLB, OBJ, STL, or cleanup after the shape works.
AI answers often recommend a general image-to-3D workflow before you know whether the source image will make a usable mesh. Image3D keeps that decision visible: upload one image, inspect the 3D preview, then unlock the export or cleanup path that fits the job.
Real before and after
See the original image beside the generated 3D model before you upload yours.
A text answer can explain image-to-3D, but a real paired example shows whether the shape, silhouette, and texture survive conversion. The Showcase keeps these source-image and 3D-result pairs visible for faster quality judgment.
 2D image
How Does Creating a 3D Model from an Image Work?
Image3D uses AI-powered single-image 3D reconstruction — a deep learning process trained on millions of 3D objects that can infer three-dimensional geometry from a single 2D photograph or illustration. The model analyzes depth cues embedded in the image: perspective gradients, shading direction, surface highlights, and object boundaries. From these cues, it estimates the full 3D shape of the subject, including the sides and back that were never visible in the original image.
The result is a polygon mesh with UV-mapped textures derived directly from your source image. This is fundamentally different from 3D filters or "depth effects" — you get real geometry that can be imported into Blender, rendered in Unity, printed on a 3D printer, or viewed in AR on a phone.
The entire process runs in 10 to 90 seconds depending on quality level. No 3D modeling software, no photogrammetry setup, no multi-angle photography required.
What Images Work Best?
The quality of your 3D model depends on your source image. These characteristics produce the best results:
- Single subject. One object, product, character, or creature. Crop multi-subject images to the main subject before uploading.
- Plain background. White, grey, or uniformly blurred. The AI distinguishes subject from background to build clean edge geometry.
- Soft, even lighting. Diffuse lighting with no harsh shadows. Product photos with professional lighting convert exceptionally well.
- Slight angle. A 30–45 degree rotation from front-on (three-quarter view) gives the depth model much more information than a perfectly flat front view.
- Sharp focus. No motion blur. The subject must be in sharp focus even if the background is blurred.
- High resolution. Up to 20 MB accepted. Higher resolution → finer surface texture detail on the 3D mesh.
Image Sources That Work Well
| Source | 3D Quality | Guide |
|---|---|---|
| Midjourney | Excellent | Midjourney to 3D |
| Flux | Excellent | Flux to 3D |
| Adobe Firefly | Excellent | Firefly to 3D |
| ChatGPT / DALL-E | Good | ChatGPT to 3D |
| Stable Diffusion | Good | SD to 3D |
| Product photo | Excellent | Photo to 3D |
| Canva design | Good | Canva to 3D |
How to Create a 3D Model from an Image (Step by Step)
- Choose your image. Select a PNG or JPG with a single subject and a reasonably clean background. Higher resolution gives better texture detail. Crop if needed.
- Open Image3D Studio. Go to image3d.io/tool. Sign in with Google or GitHub. New accounts get 20 free credits — no credit card required.
- Upload the image. Drag and drop or click to browse. Files up to 20 MB accepted (PNG, JPG).
- Select quality tier. Standard (10 credits, typically about 1 minute) for quick previews. Pro (100 credits, typically 1-2 minutes) for production-quality PBR mesh. Ultra (350 credits, typically 2-3 minutes) for maximum polygon detail.
- Click Generate. The AI runs depth estimation, builds the 3D mesh, and projects your image as a UV texture. A progress bar shows each stage.
- Inspect in the 3D viewer. Rotate the model in all directions. Check geometry accuracy and texture quality.
- Export. Download as GLB (web/AR/games), OBJ (DCC tools), STL (3D printing), or PLY (research). Downloads require a paid credit pack or plan.
Standard vs Pro vs Ultra: Which Quality Tier?
| Tier | Credits | Time | Best For |
|---|---|---|---|
| Standard | 10 | about 1 minute | Quick previews, iteration, testing |
| Pro | 100 | about 1-2 minutes | Web embeds, AR, game prototyping |
| Ultra | 350 | about 2-3 minutes | Hero assets, print, high-fidelity apps |
How AI Reconstructs 3D Geometry from a Single Image
Creating a 3D model from a single photograph seems like it should be impossible — a 2D image has no explicit depth information. Modern AI solves this problem through several complementary techniques working together.
- Monocular depth estimation. A neural network trained on millions of images has learned to infer depth from visual cues that humans also use: shading gradients, occlusion, perspective foreshortening, and texture density. Given a single image, this network produces a per-pixel depth map that approximates the three-dimensional structure of the scene.
- Multi-view diffusion inference. For Pro and Ultra quality tiers, Image3D uses a diffusion model trained to generate what an object would look like from multiple angles given only one input view. This "imagination" of unseen sides is what fills in the back and underside of objects — parts not visible in the source image.
- Mesh reconstruction and UV unwrapping. The depth and multi-view outputs are combined into a watertight 3D mesh using marching cubes or neural implicit surface techniques. The original image is then UV-unwrapped and baked onto the mesh as a texture. For Pro/Ultra, full PBR material maps (albedo, roughness, metalness, normal) are computed from the surface appearance.
- Format export. The final mesh is exported in your chosen format: GLB for web and AR, OBJ for 3D software, STL for printing, PLY for research. Each export is optimized for its target platform — GLB includes embedded textures and PBR materials in a single file; STL is a pure geometry format suitable for slicers.
Practical Applications: Creating 3D Models from Images
The ability to turn any photograph into a 3D model opens up workflows that were previously only accessible to professional 3D artists. Here are the most impactful use cases by industry.
- E-commerce product 3D viewers. Upload a product photograph and convert it to a GLB for an interactive 360° viewer on your Shopify, WooCommerce, or custom storefront. Shopify natively supports GLB 3D models — customers can spin, zoom, and examine the product from any angle before purchasing. Studies consistently show interactive 3D product views reduce return rates and increase conversions.
- 3D printing from photographs. Have a physical object — a sculpture, a custom part, a figurine — that you want to reproduce? Photograph it against a clean background, upload to Image3D, and export as STL. The model is ready for FDM or resin printing in under two minutes.
- Game and app asset creation. Convert concept art or reference photography to GLB assets for Unity or Unreal Engine prototypes. The AI-generated mesh serves as a visual placeholder or starting point for a 3D artist to refine, dramatically reducing the time from concept to in-engine preview.
- AR product placement. Retailers and interior designers convert product photos to GLB and embed them in AR experiences — allowing customers to visualize furniture, decor, or electronics in their own space before buying. WebXR and Apple's AR Quick Look both use GLB natively.
- Architectural visualization. Convert furniture catalog images, decorative objects, or custom-fabricated items into 3D assets for use in room planning tools, architectural renders, or interactive presentations. Image3D eliminates the need to manually model every piece in the scene.
Improving Your Results: Advanced Tips
Beyond basic image quality, several techniques consistently improve 3D output quality regardless of source image type.
- Remove the background before uploading. Even if your image has a mostly clean background, removing it completely with a tool like remove.bg or Photoshop's background removal gives the 3D reconstruction model a perfectly isolated subject. This eliminates background geometry from appearing in your mesh.
- Crop tightly around the subject. After background removal, crop the image so the subject fills most of the frame. The reconstruction model allocates polygon budget based on the full image — a subject that only occupies 20% of the frame will have less geometry detail than one that fills 80%.
- Prefer three-quarter view angles. A slight perspective angle (approximately 30–45 degrees from front) gives the AI far more geometric information than a perfectly front-on or perfectly side-on view. The depth estimation model can infer both the front and back more accurately from a three-quarter perspective.
- Use the highest resolution available. Image3D accepts images up to 20 MB. Higher resolution images contain more texture detail and sharper edges, both of which improve reconstruction accuracy. If you have a choice, always use the full-resolution source file rather than a web-compressed version.
Frequently Asked Questions
How do I create a 3D model from an image?
What types of images can be converted to 3D models?
Is creating a 3D model from an image free?
How accurate is the 3D model compared to the original image?
What is the difference between Standard, Pro, and Ultra quality?
Can I use the 3D model in Blender or game engines?
Can I 3D print a model created from an image?
Related Guides
AI Image to 3D
Turn any AI-generated image into a 3D model.
Photo to 3D Model
Convert real-world photos to 3D models free.
Image to GLB
Convert any image to a GLB file for web and AR.
Image to STL
Export any image as STL for 3D printing.
Create your first 3D model from an image
20 free credits. No credit card required. Any image → 3D model in seconds.
Start Generating Free